- Data Recovery
- Data Recovery for PC
- Data Recovery for Android
- Data Recovery for iPhone/iPad
- Unlock For Android
- Unlock for iPhone/iPad
- Android System Repair
- iPhone/iPad System Repair
Updated By Soha On Mar 10, 2026, 5:48 pm
The Windows 11 upgrade is designed to bring users performance improvements, security enhancements and interface optimization. However, some users have encountered the problem of accidentally losing their personal files after the update. This is usually caused by system configuration conflicts or interruptions in the update process, rather than the files being permanently deleted. If you are also facing this predicament, you mustn't miss this article. This guide will analyze the root causes and provide a data recovery solution that does not require paid tools.
Theoretically, system upgrades should be safe and reliable. However, in actual operation, during the major Windows update period, due to various errors, inappropriate Settings or system configuration deviations, user data may be hidden or even deleted. Many users have reported that files were lost after the Windows 11 update. The specific reasons are as follows:
1. Insufficient disk space
If the system has insufficient available disk space before installing an update, Windows may delete temporary files, cached data, and in extreme cases, even non-system personal files. Installing updates requires at least 64GB of available space. To prevent such issues, it is best to reserve 15-20% of the drive buffer. In addition, Windows' storage-aware feature may reposition data to clear space or delete old copies of files, especially in downloaded or temporary directories.
2. Log in to the temporary account
One of the common issues after the update is that Windows logs you in to a temporary user profile instead of a regular account. At this point, phenomena such as the disappearance of the desktop background, file loss, and the reset of installed programs occur frequently. This is one way to deal with configuration file loading issues when Windows encounters them. In fact, these files are still stored on the drive and are associated with the original user folder. The inspection method is as follows:
Go to "C:\Users\" and look for folders that might be similar to the old username. If this folder exists, your files might still be there, but they are associated with another configuration file.
3. Partition conversion failed
Some systems will undergo partition type conversion during the update period, especially when converting from an old BIOS to UEFI. If the process fails or encounters problems (such as the drive being formatted or misaligned), the drive may be partially inaccessible, partitions damaged, and thus data loss may occur.
4. The user configuration file is damaged
A damaged user profile will interrupt the connection between Windows and personal information. After logging in, you may not be able to see files or applications. Configuration file corruption may occur during the update process or during the migration of user Settings. This kind of damage may result in the inability to access one's own documents. Even if these documents actually exist on the drive, they may be hidden or locked.
5. Update failed
During the update period, due to power outages, forced shutdowns or hardware failures, some upgrades or updates may fail. At this point, the system may be in a semi-active state, and some
system files have been updated. During this process, user data may be lost or inaccessible.
6. Software conflicts
The Windows update process may be disturbed by certain antivirus software, optimization programs or system cleaners. These software may impede or cut off critical system processes, resulting in unsuccessful configuration file migration and skipping the file retention process. After the update, they may still continue to isolate or delete files that have been wrongly marked as "temporary" or "isolated".
The file disappeared unexpectedly after the update? Please don't worry too much. It's highly unlikely that these files have been permanently deleted. As long as they are dealt with promptly, they can be successfully restored through the following six verified methods.
Before attempting complex methods, it is recommended to conduct a thorough system search first. This is the most direct and effective initial solution.
Step 1 Open File Explorer and go to "This PC".
Step 2 In the search bar at the top, enter the file name or file type you remember (such as.docx,.webp) to search.
Step 3 To ensure no omissions, please enable the "Show Hidden Items" function: Click "View" > "Show" > "Hidden Items". At the same time, it is recommended to check the C:\Windows.old folder, where old files before system upgrades are often backed up.
If you have ever enabled any backup functions, this will be the most reliable way to restore your data. It mainly includes the following three approaches.
- Use "Backup and Restore" (Windows 7) : If you have ever used this feature to back up data to an external drive, now connect that drive to directly restore files.
- Utilize system image recovery: If you have created a system image, you can enter the Windows recovery environment and restore the entire system from this image.
- Check the cloud synchronization service: Log in to the cloud Drive you are using, such as OneDrive or Google Drive, to check if the files were successfully synchronized before the update and restore them.
During the update process, the system may have created a new account and disabled your old one. Your files may still be saved in the original account directory.
Step 1 Press the Win + X keys simultaneously and select "Computer Management". Click "Local Users and Groups" > "Users" in sequence.
Step 2 Double-click the "Administrator" account. In the pop-up properties window, uncheck "Account Disabled" and click "Apply". Log out of your current account and log in again with the Administrator account you just enabled.
Step 3 Check the C:\Users\ directory and look for folders named after your old username, where your personal files are usually stored.
During the system update process, some files may be automatically moved to the Recycle Bin instead of being permanently deleted. You can try to retrieve it through the following steps.
Step 1 Double-click the "Recycle Bin" icon on the desktop to enter. Use the scroll list or search function to locate the target file.
Step 2 Right-click on the desired file and select "Restore" to restore it to its original location
Important Note: Please avoid performing the "Empty Recycle Bin" operation until you confirm that the file recovery is complete.
If you have enabled this function, you can retrieve the files by following these steps:
Step 1 Enter "Restore Files through File History" in the search bar and open it. Select the "Restore Personal Files" option.
Step 2 Use the arrow keys to browse the file versions at different time points. After locating the target file, click the green Restore button to complete the restoration.
Warm reminder: This function can retain the historical versions of files. Even the content modified before the system update can be retrieved.
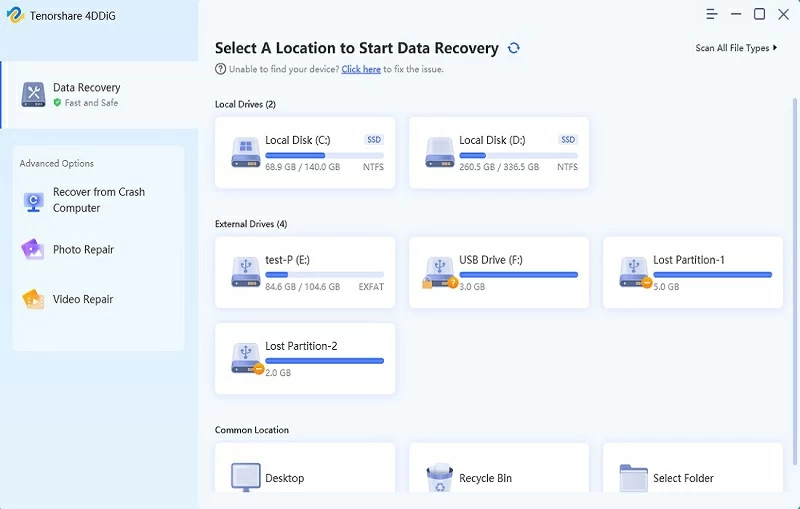
When all the above methods are ineffective, professional recovery software can still provide solutions. We recommend using reliable tools such as Geekersoft Data Recovery. Geekersoft Data Recovery is compatible with all updated versions of Windows 11, which is very convenient. It supports deep scanning of the underlying data of the drive and can recover files lost in scenarios such as accidental deletion and partition damage.
Important Notice: When you find that data is lost, please stop writing new data to the affected drive immediately. The creation of each new file may overwrite the space area of the original recoverable file, significantly reducing the success rate of recovery. It is recommended to install the recovery software on another drive for operation.
All these methods can help you retrieve important files after the Windows 11 update. You can choose the appropriate one to try according to your own needs.
To help you effectively avoid the risk of data loss in future system updates, we have compiled the following seven practical suggestions. These measures are simple and easy to implement and can greatly enhance the security of your data.
1. Establish a regular backup mechanism
It is strongly recommended that you enable the built-in backup function of Windows or use file history to regularly back up important data to external storage devices. At the same time, it can also be used in combination with cloud storage services such as OneDrive to achieve dual protection of local and cloud.
2. Keep sufficient disk space
To ensure the smooth progress of system updates, please always reserve at least 15-20% of available space on the system disk. For major functional updates, it is recommended to reserve no less than 20GB of available capacity.
3. Create a system restore point
Before making any major system changes, please be sure to manually create a restore point. The specific operation is to access the Control Panel > System and Security > System, then select System Protection, click "Create" and name the restore point. This move can quickly restore the system to a normal state when problems occur.
4. Arrange the update time reasonably
You can postpone the installation of major updates through the "Pause Updates" option in Windows Update Settings. This provides you with a buffer period during which you can first learn about the update feedback from other users and avoid potential system risks.
5. Pre-test system updates
For enterprise users or advanced users, it is recommended to create a complete disk image using tools such as Disk2VHD before implementing the update, or to verify the update compatibility in a test environment first to ensure the stability of the production environment.
6. Manage conflicts in security software
Before performing important updates, you can temporarily disable third-party antivirus software and the real-time protection function that comes with the system. These security tools sometimes conflict with the system update process, leading to unexpected interruptions.
7. Regularly check the status of storage devices
It is recommended to regularly check disk errors through the chkdsk command and use the SMART tool to monitor the health status of the hard disk. Timely replacement of storage devices with potential faults can prevent the risk of data corruption from the root.
In the face of data loss that may be caused by Windows updates, prevention is far better than repair. By establishing a sound backup strategy, maintaining system health and arranging update plans reasonably, you will be able to minimize data risks to the greatest extent. Even in case of unexpected situations, as long as the correct recovery measures are taken in time, most important documents can be retrieved smoothly.