- Data Recovery
- Data Recovery for PC
- Data Recovery for Android
- Data Recovery for iPhone/iPad
- Unlock For Android
- Unlock for iPhone/iPad
- Android System Repair
- iPhone/iPad System Repair
Updated By Tom On Jan 8, 2026, 9:48 pm
Hard disk drives are usually divided into multiple partitions to store different types of data. However, in the Mac system, these partitions may be lost, which could lead to the damage or loss of important files and information. In the face of this situation, how should one respond? Using the partition recovery solution of Mac to retrieve data might be a feasible approach. This article will introduce to you the specific methods for restoring deleted partitions on a Mac.
Disk partition loss on Mac devices can be caused by a variety of factors, including but not limited to incorrect formatting processes, failed software updates, improper command operations, the use of third-party disk cleaning applications, and partition damage due to accidental deletion. Although multiple factors can lead to partition loss on Mac devices, it mainly depends on the type of file system adopted by the device. The main function of a file system lies in managing, storing and retrieving files in devices. If the partition does not conform to the file system type standards supported by Mac, it is highly likely to cause an error. For instance, when attempting to format a hard disk drive, improper operation may result in the partition being completely deleted.
The following will analyze the potential risk factors that cause Mac partition loss for different file system types.
1. FAT32: Although the File Allocation Table 32 (FAT32) was once widely used in hard disk drives, it is now more commonly found in USB drives, SD cards, floppy disks, digital cameras and embedded devices. It is worth noting that FAT32 does not support partitions larger than 2TB on Mac devices, nor does it support partitions larger than 32GB on Windows systems.
2. NTFS: The NTFS file system uses a proprietary logging method and serves as the default system for Windows partitions. However, on Mac devices, the write mode is not stable, which may lead to partition loss. As a result, a Mac solution for recovering deleted partitions is needed to retrieve the data.
3. exFAT: exFAT, also known as the Extensible File Allocation Table, is an upgraded version of the FAT file system format and is mainly applied to external hard disk drives, SD cards, and flash drives. However, it should be noted that exFAT is not applicable to systems with drive capacity less than 32GB.
When attempting to format a file system, if the file system is incompatible or the operation steps are incorrect, it is highly likely that the disk partition will be accidentally deleted. In such cases, choosing the appropriate data and partition recovery tools or solutions is undoubtedly the best option. The following will provide you with a detailed introduction to two software options worth paying attention to, to help you effectively recover data on your device.
With a fully functional software to recover files from permanently deleted or damaged partitions, you will achieve maximum data security. Among them, Geekersoft Data Recovery(Mac) is an ideal choice. This software is easy to operate, processes quickly, and during the recovery process, it will not overwrite the original data unless explicitly authorized by the user.
Advantages of Geekersoft Data Recovery(Mac):
- Simple and no technical background is required.
- Support previewing file content before restoration.
- Compatible with multiple file formats, storage devices and drives.
- The scanning process can be paused and restarted at any time to ensure the safety and integrity of the data.
Shortcomings of Geekersoft Data Recovery(Mac):
- The free version has a limit on the amount of recoverable data, with a maximum of 100MB.
- Advanced features (such as recovering files from a crashed Mac device partition) require a paid upgrade before they can be used.
Please follow the steps below to perform partition recovery using Geekersoft Data Recovery(Mac):
Step 1 Visit the official website of Geekersoft Data Recovery. After downloading and installing the software on your Mac, follow the prompts to grant the necessary permissions.
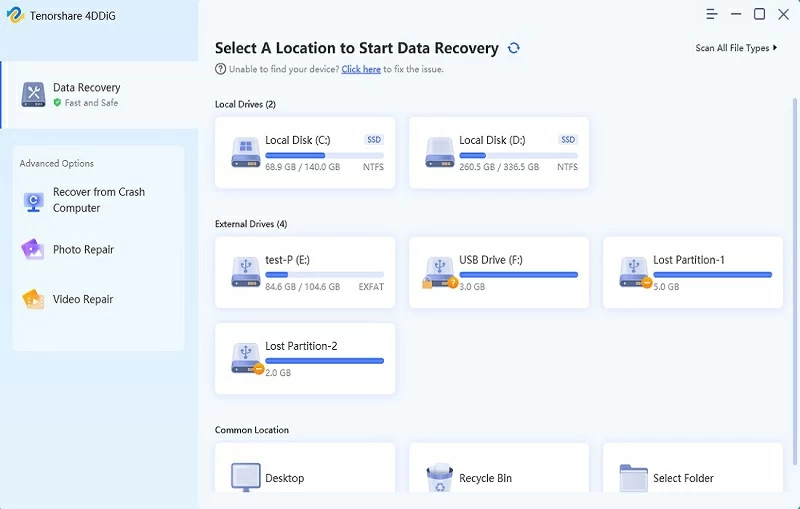
Step 2 After launching the Mac version of Qike Data Recovery, on the main interface of "Hard Drives and Locations", select the specific hard drive where the partition was lost or deleted. If you cannot find the target partition, please click the "Your partition cannot be found" option. Then click the "Start" button to initiate the scan.
Step 3 The Geekersoft Data Recovery(Mac) will conduct a comprehensive scan of the selected Mac partition. If the partition has been scanned and displayed in the list, you can pause the scanning process at any time. You can also specify the scanning content through "Filter".
Step 4 After the scanning is completed, double-click a single file to view the preview. After confirming that everything is correct, click the "Restore" button.
Another feasible solution for recovering lost partitions on a Mac is to use TestDisk. TestDisk has the ability to recover deleted or lost partitions. Meanwhile, when the regular functions of the software are not performing well, it can also restore non-bootable disks to a normal working state.
Advantages of TestDisk:
- Free to use, no additional charges required.
- Capable of repairing damaged partition tables and restoring deleted partitions.
Shortcomings of TestDisk:
- For beginners, the learning curve of TestDisk is relatively steep and the operation is relatively complex.
- It needs to be downloaded from a third-party source, and its reliability and security cannot be fully guaranteed.
To recover lost partitions on a Mac using TestDisk, you can refer to the detailed steps:
Step 1 Install HomeBrew on your Mac to test the Disk software. So install HomeBrew first. Start the terminal and enter the following command:bash/bin/bash -c "$(curl -fsSL https://raw.githubusercontent.com/Homebrew/install/HEAD/install.sh)"
Enter the above command to install Homebrew.
Step 2 Click the "Return" key and enter the user password when prompted by the system. Press the "Return" key again to continue the installation process.
Step 3 After the Homebrew installation is successful, enter the next command and click the "Return" key to install TestDisk:
Step 4 Enter the corresponding command in the terminal to start TestDisk. (The original text is not provided, for example: testdisk)
Step 5 TestDisk will offer the option to add new log files and provide default suggestions so that you can view all the tasks performed by the tool. You can choose the default option or other options, and then press the "Enter" key to confirm.
Step 6 Select the type of drive and partition table to be scanned. Press the "Analyse" button to assess the existing partition structure and search for missing partitions.
Step 7 Click the "Quick Search" option to start the search. If the lost partition is not found, click "Deeper Search" for a more thorough search.
Step 8 After the scan is completed, a list of all recoverable partitions will be displayed. Select the partition you need to recover from the list, and then press the "Return" key to start the recovery process.
Step 9 Click the "Write" option to save the updated partition structure.
The following key elements can help you choose the best partition recovery software to recover deleted partitions on your Mac.
1. Core functional features: Deeply explore the functional scope provided by the software. Evaluate whether it is only limited to implementing standard recovery processes or can integrate additional practical functions within the same software platform, such as partition repair and bootable USB creation functions, to achieve data recovery in the event of a system crash.
2. User Experience: Examine the user experience created by the partition recovery software for both skilled users and beginners with no prior knowledge. It should be made clear that only personnel with professional technical knowledge can handle complex software. For ordinary users, overly complex software is often difficult to master and apply.
3. Compatibility performance: The selected software should fully support the type of the target device and its built-in storage system, which is the cornerstone for ensuring the normal operation of the software. A comprehensive tool that can be widely compatible with various storage devices and operating systems is undoubtedly the ideal choice for users.
FAQs about Mac Partition
Q1 Can a damaged partition on a Mac be repaired?
Yes, some professional partition recovery software has the ability to repair damaged partitions. Users can run these software to detect and repair damaged partitions, thereby restoring their normal usage functions.Q2 How to recover a partition on a Mac?
To restore partitions on a Mac, you can use professional partition recovery software, such as the Mac version of Qike Data Recovery or TestDisk mentioned earlier. Users need to follow the software instructions to complete operation steps such as scanning, selection and recovery.
The above are the two practical methods for restoring partitions on Mac that we have introduced to you. Among them, the Geekersoft Data Recovery(Mac) has been highly praised by users around the world for its outstanding performance and first-class success rate.