- Data Recovery
- Data Recovery for PC
- Data Recovery for Android
- Data Recovery for iPhone/iPad
- Unlock For Android
- Unlock for iPhone/iPad
- Android System Repair
- iPhone/iPad System Repair
Updated By Soha On Oct 29, 2025, 8:41 pm
In the Windows operating system, the "Recycle Bin" is a key feature used for temporarily storing files del eted by users. It is equivalent to a safety net, providing the possibility of recovery when files are accidentally del eted. However, due to the need to free up disk space or protect sensitive information, many users also hope to know how to completely and permanently del ete files in the Recycle Bin. If you are looking for a way to recover permanently del eted files fr om the Windows Recycle Bin, you mustn't miss this article. We will introduce to you in detail four practical methods for permanently deleting Recycle Bin files in Windows 10 and Windows 11 systems.
Under normal circumstances, when a file is del eted, it is not immediately erased fr om the disk but moved to the Recycle Bin. The file will remain there until the user sel ects "Restore" or "Empty Recycle Bin". Even after clearing, the file data actually remains on the disk until it is overwritten by new data, which makes file recovery possible. The following are four operations to permanently del ete Recycle Bin files in Windows 10/11:
If you don't want to empty the entire Recycle Bin but only want to completely del ete some of its files, this is the most convenient method.
Step 1 Double-click the "Recycle Bin" icon on the desktop to open it.
Step 2 sel ect one or more files or folders that you wish to permanently del ete (you can hold down the Ctrl key for multiple sel ections). Then, right-click to open the context menu.
Step 3 sel ect the "del ete" option fr om the menu. At this point, the system will pop up a confirmation dialog box asking if you are sure to permanently del ete these files. Just click "Yes".
The advantage of this method lies in its precise operation. It can only del ete the specified file without affecting other contents in the Recycle Bin.
If you need to quickly free up disk space and confirm that all files in the Recycle Bin are no longer needed, this is the most direct method.
Step 1 Find the "Recycle Bin" icon on your desktop.
Step 2 Right-click on the icon. fr om the pop-up context menu, sel ect "Empty Recycle Bin". When the system prompts to confirm the operation, click "Yes".
This method is applicable when it is necessary to urgently clear disk space and determine that all files in the Recycle Bin need to be permanently del eted.
When the Recycle Bin cannot be emptied normally due to system errors or file damage, the following system Settings can be used to force deletion:
Step 1 Press the Windows + I keys to enter the system Settings, and then sel ect "System" > "Storage" in sequence.
Step 2 Under the storage options on the main drive, click "Temporary Files", find and check "Recycle Bin".
Step 3 Click "del ete File" to complete the operation.
For users familiar with advanced operations, Command Prompt or PowerShell offers a more powerful deletion method that works even when the graphical interface fails. Operate via the Command prompt:
Step 1 Search for "cmd", right-click and sel ect "Run as Administrator".
Step 2 Enter the following command and press Enter:
cmd
rd /s /q C:\$Recycle.Bin
Step 3 After the command is executed, restart the computer.
Note: If you need to clean up other drives, please replace the "C" in the command with the corresponding drive letter
In addition, you can also operate through PowerShell:
Step 1 Start PowerShell as an administrator
Step 2 Execute the following command:
powershell
Clear-RecycleBin -Force
This command will forcibly empty the Recycle Bin and is particularly suitable for scenarios that require batch processing or scr ipted management.
The so-called "permanent deletion" usually refers to merely removing a file fr om a visible directory, but its data remains on the disk until it is overwritten by new data. Therefore, with the help of professional tools, there is still a risk that these files will be restored. If you wish to completely eliminate this risk and ensure that sensitive information cannot be restored, you can refer to the following advanced deletion methods. The more times the data is overwritten, the more difficult it is to recover the data, and the security also increases accordingly.
This method thoroughly eliminates the residual traces of the original data by repeatedly writing random data to the disk space occupied by the del eted file.
Professional secure deletion tools (such as Eraser, CCleaner) can be used to perform multiple overwrite operations on idle disk space.The Windows system has the cipher command tool built in. Start the Command Prompt as an administrator and enter:cmd
cipher /w:C:\
This command will overwrite and clean the remaining space on the C drive, effectively removing the residual data of del eted files.
For storage media involving highly confidential information (such as core business data or personal financial information), physical destruction is the most thorough and secure approach. Although this method is extreme, it is strongly recommended when phasing out or disposing of old equipment containing sensitive information.
Specific methods include: hard disk crushing, drilling holes, strong magnetic demagnetization or high-temperature incineration, etc.
Physical damage can ensure that no software can recover the data, once and for all.
Before deletion, encrypt the file or the entire disk. Even if the file is recovered, its content cannot be read without a key.
The BitLocker drive encryption that comes with the Windows system can provide full disk encryption protection. This method provides a crucial guarantee for the data security of easily lost devices such as laptops and portable hard drives.
After encrypting the file or storage device, perform the deletion operation. Even if the data remains, its content is still in an encrypted state and cannot be directly read.
If you accidentally del ete important files, please don't panic. There are still the following remedial measures available for you to try
1. Immediately stop using this disk: To maximize the success rate of recovery, please do not save new files to this disk to prevent the data area of del eted files fr om being overwritten.
2. Check cloud backups: If you are using cloud storage services such as OneDrive or Google Drive, please log in first to check if there are any file backups.
3. Utilize file history: If you have previously enabled "File History" backup or created a system restore point, you can try restoring files to an earlier version.
4. Use the Windows File Recovery tool: A free tool provided by Microsoft, which can attempt to recover data when the original storage space of the file has not been overwritten.
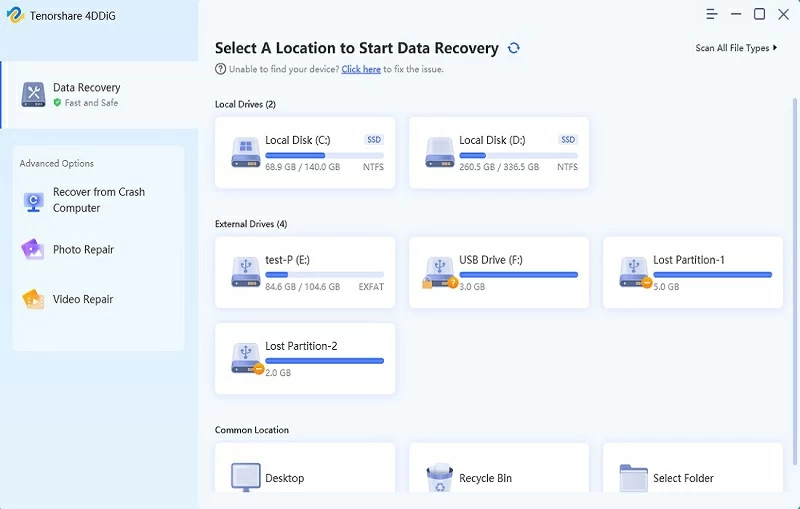
5. Try third-party data recovery software: For instance, professional tools like Geekersoft Data Recovery can conduct in-depth scans of drives to find recoverable ones.
Data loss can be caused by various reasons, and an excellent data recovery software should be capable of handling all kinds of complex situations. Among numerous tools, Geekersoft Data Recovery has been proven to be a reliable solution that can safely retrieve your important data. This software can handle various data loss scenarios, including accidental deletion, formatting, and even partition loss. Its free version already has the basic recovery function, but there is a limit on the number of recoverings. If you need to use all the functions without any restrictions, you need to upgrade to the advanced version.
Core functions of Geekersoft Data Recovery:
Support recovery of over 1,000 file types.
It adopts a simple three-step recovery process, which is easy to operate.
Have the ability to repair file damage caused by viruses or damages.
The following are the detailed steps to retrieve del eted files fr om the Recycle Bin using Geekersoft Data Recovery:
Step 1 Install Geekersoft Data Recovery on your computer. After installation is complete, sel ect the "C Drive Scan" option.
Step 2 sel ect all file types you want to restore and then click the "Scan" button.
Step 3 After the scanning is completed, preview all recoverable files. At this point, simply click the "Restore" button to complete the restoration process.
Mastering the skill of permanently deleting Recycle Bin files in Windows 10 and 11 is crucial for system maintenance, privacy protection, and freeing up disk space. You can sel ectively del ete specific files, empty the Recycle Bin with one click, or achieve this by using Settings and command-line tools, etc., based on your needs. Important reminder: When dealing with sensitive information, do not be content with simple deletion operations. It is essential to combine measures such as data overwriting, encryption or physical destruction to ensure that the data cannot be restored. If important files are accidentally del eted, staying calm and applying the correct recovery knowledge can minimize the loss to the greatest extent.