- Data Recovery
- Data Recovery for PC
- Data Recovery for Android
- Data Recovery for iPhone/iPad
- Unlock For Android
- Unlock for iPhone/iPad
- Android System Repair
- iPhone/iPad System Repair
Updated By Cameron On Mar 20, 2023, 10:25 pm
In today's society, online telecommuting has become a very common phenomenon. You may have participated in online video conferences, online courses, or lectures. In these scenarios, the Mac screen recording tool is a great way to record a MacBook or iMac screen so you can review the important information later. As a MacBook user, if you're interested in how to record video and audio on a Mac, don't miss this article. The Mac screen video recorder recommended in this article records everything that happens on the screen with extraordinary quality. The recorded video can be used to create demo videos or tutorial videos to help you teach or show off your results and merchandise.
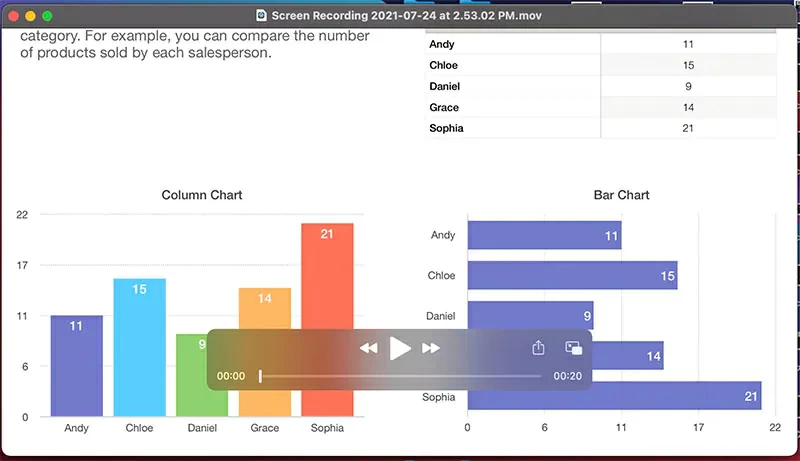
During screen recording, you can add the location you wrote to your program to display all your mouse actions and snapshots, so that you can accurately see the operation process of your screen.
To record screen on a Mac with audio, Apple built-in applications such as QuickTime Player can help you record a MacBook screen with audio. However, if you want to edit recorded videos or if you are a professional photographer with high requirements for screen recording, the built-in application may not meet your requirements. In addition, because newer versions of MacOS skip the recording option in the QuickTime player, you may encounter recording issues when recording screens on MacBook or iMa. Therefore, we recommend that you use third-party applications to record MacBook or iMa screens. For example, the powerful Screen Recorder application is a great choice, which can help users easily record high-quality MacBook or iMa screens and audio.
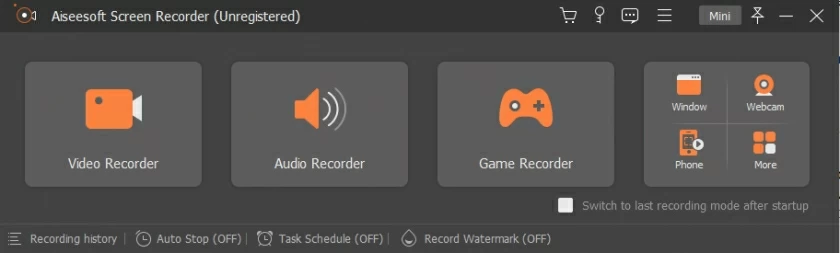
Screen Recorder is a perfect solution for recording screens with audio on a Mac. It supports customizing various parameters for screen recording on MacOS, such as using the built-in screen drawing tool in Screen Recorder to draw on the screen while recording to add comments and tags. After recording on the screen on MacBook or iMa, you can use the powerful editing tools of Screen Recorder to add or edit some content to the recorded video, which is very convenient! The steps for recording audio on MacBook Pro are as follows:
Step 1 Download, install, and launch Screen Recoder.
Download, install, and launch Screen Recoder on your macOS, then click the "New Recording" feature in the main screen.
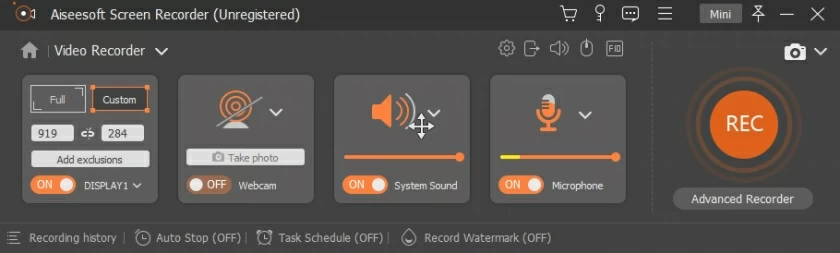
Step 2 Set audio/video parameters.
Set audio and video parameters in the recording window. For example, you can customize the screen (all or specific parts) and the audio source (microphone recording or system recording, etc.) to be included in the recording. After setting the screen and audio parameters, click the "Rec" button to start recording.
Step 3 Start recording.
Click the red "Rec" button to begin recording screen and audio on macOS. During the recording process, you can use the screen drawing tool to add comments for better presentation.
Step 4 Export and share the recorded file.
After recording the file, you can edit it in the editor. You can choose to save the recorded file locally, edit it and upload it to YouTube and other popular online platforms for sharing.
If you are using an advanced Mac, you can use the Mac screen recorder in the QuickTime Player application to record the screen. QuickTime is a simple screen-recording tool that helps users record whatever appears on the Mac screen, such as playing videos. You can customize source-related options, such as Sound from System, Sound from Surrounding environment, and from PC Microphone.
QuickTime can record sounds from sources other than the system that may not work well.
Follow these steps to record a screen on a Mac using QuickTime:
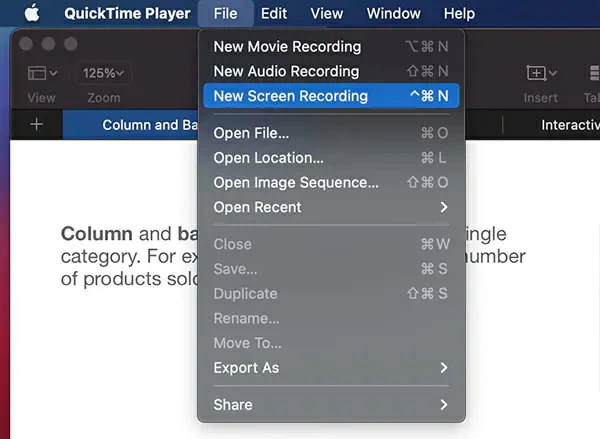
Step 1 Start QuickTime Player
To start screen recording with Apple's built-in application, QuickTime Player, go to the utility and locate its icon and launch it.
Step 2 Turn on the screen recorder
Open the video recorder window in QuickTime Player. Then select the New Screen Record option to turn on the screen recorder.
Step 3 Enable recording
Set recording parameters in the QuickTime Player recorder.
Tip: If you have an older version of macOS, you may not see this option.
Step 4 Start recording
Once the recorder is enabled, click the red "Rec" button located in the on-screen video recorder window to begin recording.
Step 5 Export the recorded file
Export or upload recorded files to a network platform.
Another tool you can use to record a Mac screen is MacOS Mojave, which has a built-in feature that allows users to capture video and audio from the Mac screen. Although there are many screen capture tools in MacOS Mojave, you can record screens on MacBooks or other Mac devices with just a few simple actions. Whether it's screenshots, video tutorials, or online courses, lectures, and forums, you can use MacOS Mojave to record screens on your Mac. You can record a Mac screen using macOS Mojave by following these steps:
Step 1 Open the screenshot toolbar
Start MacOS Mojave and use the shortcut key "SFT+Command+5" to launch the screenshot toolbar.
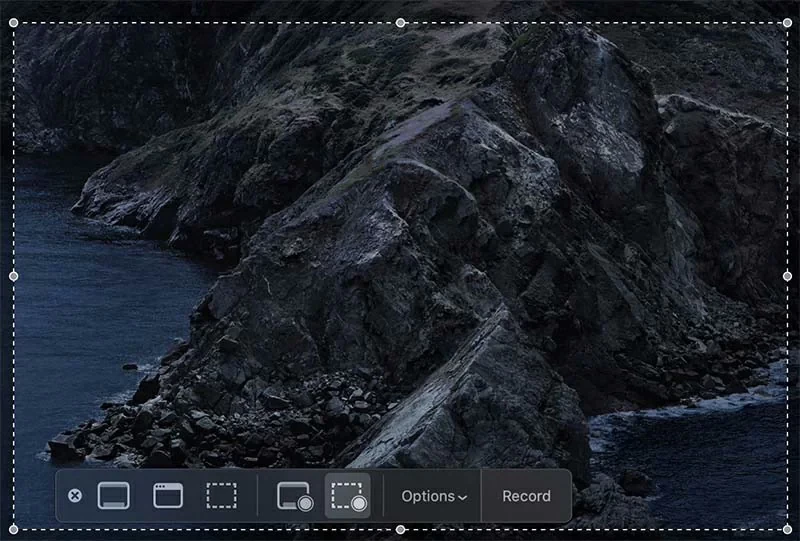
Step 2 Select recording options
Locate the screen recording button in the toolbar. You can choose to record the entire Mac screen, or part of the screen.
Step 3 Customize recording related parameters
Customize your screen recording related parameters according to your needs, especially when you need to record specific areas on your MacBook.

Step 4 Start/Stop Recording
After customizing the MacBook recording area and related parameters, click the Record button to start or stop recording. The above is how to use the screenshot tool of MacOS to record MacBook screens.
The iOS and MacOS supported by Apple continuously improve their corresponding functions according to the different needs of users in different periods. If you want to record a Mac screen, you can choose the macOS Mojave screenshot tool. However, if you want a perfect solution, you can choose to download the best Mac screen recorder Screen Recorder and follow the steps above to perform audio and video recording.