- Data Recovery
- Data Recovery for PC
- Data Recovery for Android
- Data Recovery for iPhone/iPad
- Unlock For Android
- Unlock for iPhone/iPad
- Android System Repair
- iPhone/iPad System Repair
Updated By Tom On May 16, 2026, 8:56 pm
You might not be familiar with the term "iPhone or iPad brick", but your iPhone or iPad is surely experiencing problems such as a black screen, getting stuck on the Apple logo, stuck in recovery mode, stuck on the rotation wheel, or being unable to power on. So, do you know what causes these problems for your iPhone or iPad? It could be due to the failure of jailbreaking your device, being infected with a virus, or updating to iOS 26/iPadOS 26 version, etc. The most important thing is how to fix the "bricking" of your iPhone or iPad? If you want to know the answer to this question, don't miss this article. We will introduce to you several practical and effective methods for resolving the "bricking" of iPhone or iPad.
Generally speaking, when an electronic device, such as an iPhone/iPad, becomes "bricked", we usually recommend that you check the battery level. Therefore, you can charge your iPhone/iPad to ensure it can be turned on normally. Connect your iDevice to the charger or USB data cable and try to turn it on. If the device is fully charged but still cannot be turned on, then you need other solutions.
In most cases, restarting your device can solve many minor bugs, including crashes. For different models of Apple devices (iPhone/iPad), you need to follow different forced restart operation steps.
- For iPhone 6s, iPhone SE (first generation) and earlier models, the forced restart steps are as follows:
Press and hold the Home button on the main screen and the power button simultaneously;
Keep pressing until the Apple logo appears and then release;
Wait for the device to complete the restart, and enter the password as prompted.
- For iPhone 7 / 7 Plus, the forced restart steps are as follows:
Press and hold the right side of the power / lock button on the device;
Press and hold the left volume down button at the same time;
Keep pressing until the Apple logo appears and then release;
Enter the password after the device starts.
- For iPhone 8/8 Plus and all Apple devices without a Home button (including iPhone X and subsequent models, full-screen iPads), the forced restart steps are as follows:
Quickly press and release the volume up button;
Quickly press and release the volume down button;
Press and hold the side power button until the Apple logo appears;
Enter the password to unlock the device after the restart.
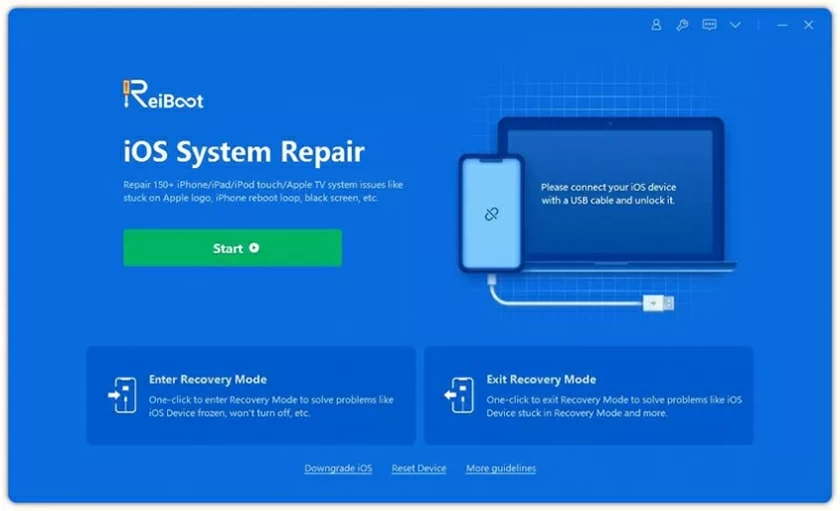
If your iPhone/iPad becomes unbootable or fails to turn on after upgrading to iOS 26, you can use the Geekersoft iOS System Repair tool to fix the system. Based on its advanced technology and strong team, this tool can quickly solve common problems such as black screen, white screen, getting stuck at the Apple logo, infinite restart, and automatically entering recovery mode. The repair process does not lose device data. Its interface is simple and intuitive, and you can easily master it without any technical background. In addition, if you lose important key data on your device, you can also combine with the Geekersoft Data Recovery iOS version to restore the required data from the backup.
The specific steps to fix the brick issue of updated iPhone/iPad using the Geekersoft iOS System Repair tool are as follows.
Step 1 Download and install the Geekersoft iOS System Repair on your computer and open the software.
Step 2 Select the "Repair iOS System" mode, and connect your iPhone/iPad to the computer using a USB data cable.
cable.Step 3 Select the advanced mode, click the right arrow to confirm. Then follow the software prompts to enter the recovery mode and click "Download" to obtain the repair firmware.
Step 4 Wait for the tool to automatically complete the system repair. When the page shows that the repair is completed, you can use the device normally.
As is well known, iTunes is the official Apple-compatible tool for device recovery. In fact, most iOS users choose iTunes when fixing device malfunctions. If your computer has iTunes installed, you can follow the steps below to restore a brick iPhone/iPad. It's very simple.
Step 1 Update the iTunes software on your computer to the latest version. Open the software and connect the iPhone/iPad to your computer using the original USB data cable.
Step 2 Select the corresponding iOS device in iTunes and go to the "Summary" page. If you haven't backed up the device data before, click "Immediately Backup" first, complete the full device data backup, and then proceed with the restoration.
Step 3 Click the "Restore iPhone/iPad" button. Follow the prompts in the pop-up window to confirm the instructions. Wait for iTunes to automatically complete the firmware download and device restoration.
Step 4 If the restoration prompt appears automatically on your computer after connecting the device, simply follow the screen instructions to complete the subsequent restoration process.
Of course, if you don't want to use iTunes, you can also choose a third-party dedicated tool to reset the disabled iOS device. The Geekersoft iOS System Repair Tool is a good option.
As you know, DFU mode is the firmware upgrade mode for iOS devices, which is a deep repair mode at the bottom layer. If your iPhone/iPad fails to boot properly, keeps freezing repeatedly, or encounters errors when using iTunes for regular restoration and cannot complete the repair, entering DFU mode might help you solve these stubborn problems. The specific operation steps are as follows.
Step 1 Update the iTunes on your computer to the latest version and open it.
Step 2 Use the original USB data cable to securely connect the cracked iOS device to the computer.
Step 3 Press and hold the Home button on the main screen of the device + the power button to wake up/sleep at the same time. Keep pressing for 3 seconds without releasing; continue to press these two buttons simultaneously for 10 seconds.
Step 4 Release the power button to wake up, and only continue to press the Home button for about 5 seconds before releasing.
Step 5 If the screen remains completely black throughout the process, without any logos or text display, it indicates that you have successfully entered DFU mode. At this point, follow the prompts in the iTunes window to complete the device restoration.
The above are the 5 effective methods we have introduced for repairing cracked iPhones/iPads. Each method is applicable to different scenarios, and you can choose the appropriate one according to your needs. Hope this is helpful to you.